Shop Styles
Last updated: April 23, 2025
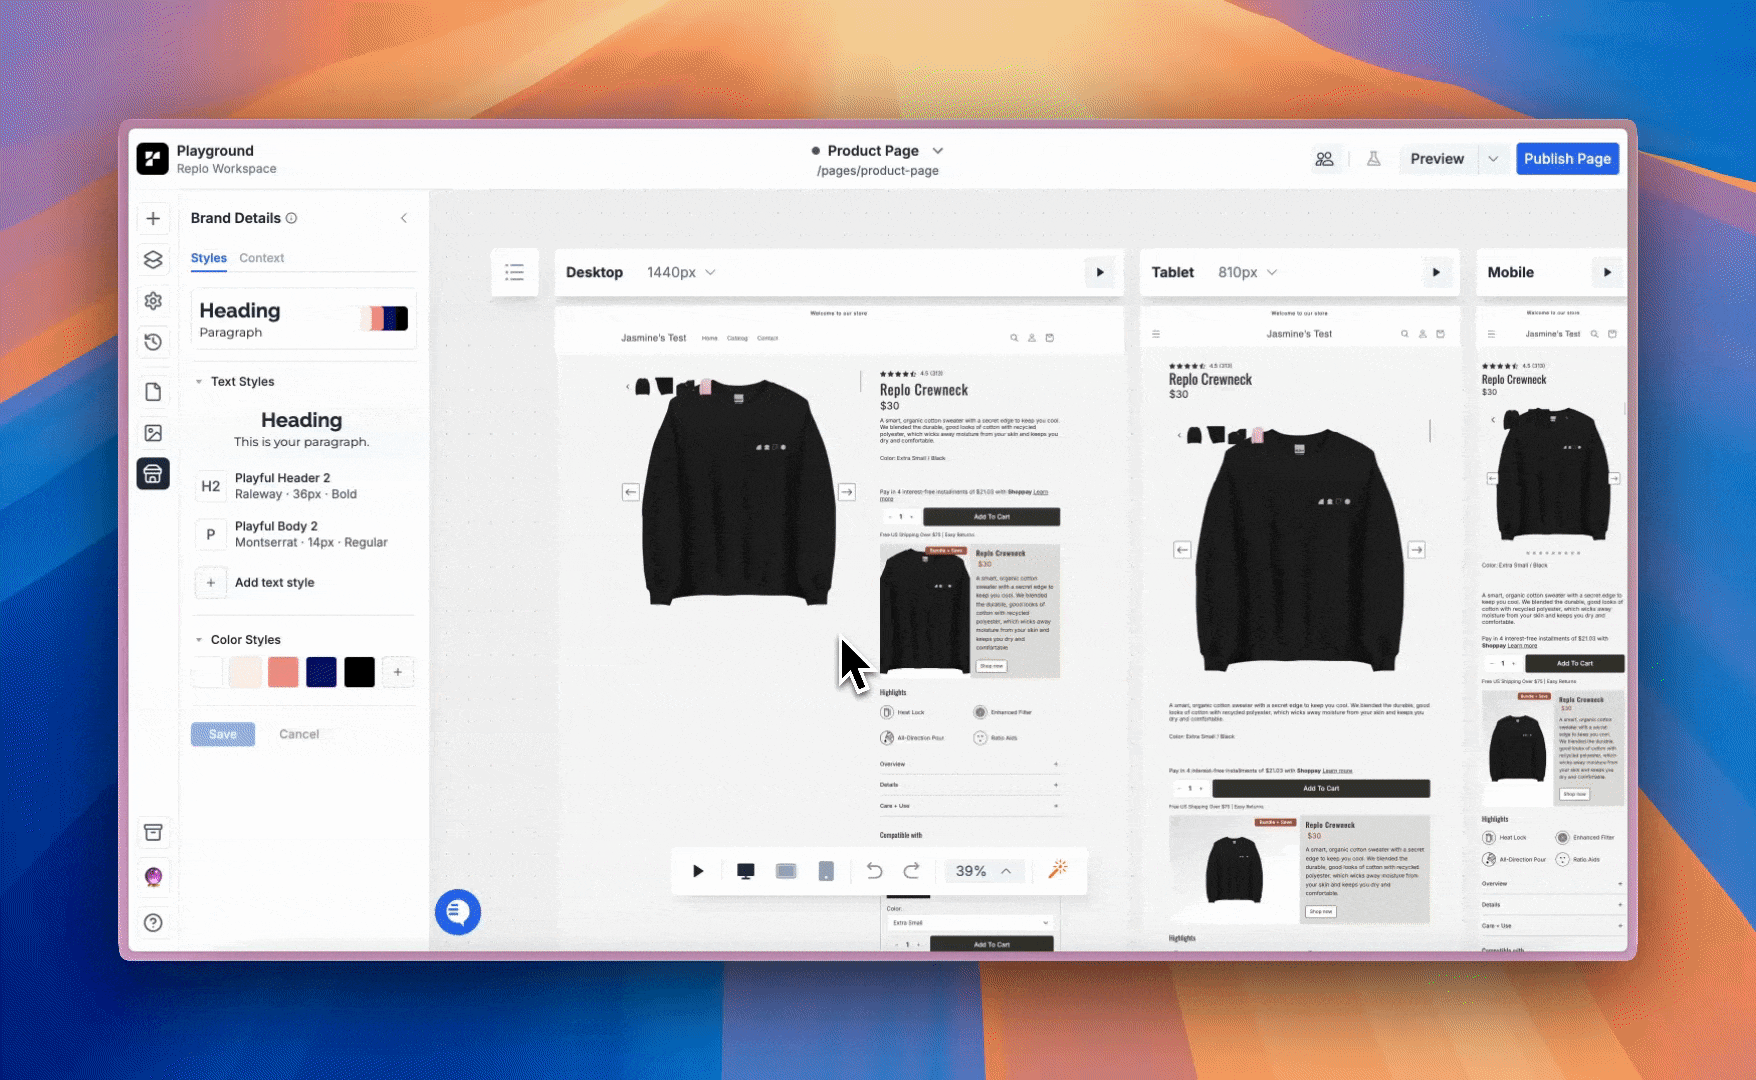
Shop Styles is a powerful feature that helps you maintain brand consistency across your projects by managing typography and color palettes in one central location. You can easily create, edit, and apply consistent styling across your pages. To get started, click the Shop Details toggle in the left-hand panel menu.

Text Styles
Text styles help you maintain consistent text formatting across your projects. Each text style can be configured with the following properties:
Font Family
Font Weight
Font Size
Line Height
Letter Spacing
Color Styles
Create and manage your shop's color palette by customizing each color style with your desired color. For each style, you can set a custom name and choose between using a solid color or linear gradient.
We don't currently support applying gradients on Borders, Shadows, Outlines, Swatch Colors, and Icon colors.
Creating Styles
You can create styles manually, import them from your Shopify store or another URL, or start from one of our presets. Each style you create will only be available within that specific project.
Manually Creating Styles
In the Shop Styles panel, you'll find sections for creating either text or color styles:
Text Styles: Click the '+ Add text style' button under Text Styles and select your text settings. Customize font size, line height, and font-weight settings to match your brand's typography requirements. Name your text style and add a tag (this helps Replo apply your styles more accurately when you use Build Assistant).
Color Styles: Click the '+' under Color Styles to create new colors. Name your color style and select your desired color using the color picker. You can create either Solid colors or Linear Gradients for each style.
Importing Styles from Your Shopify Store
If you haven't connected your Shopify store yet, you'll see a prompt to do so in the Shop Details panel. Once your store is connected, your styles will automatically get imported in. You can update the details of any imported style by hovering over it and clicking the pencil icon.

Importing Styles from a URL
You can also import styles from any live site. To do so, click on the 'Pull from URL' button and enter the URL you'd like to pull from. If you are happy with the imported styles, click Save at the bottom to keep them.

The options to import styles only show when there are NO shop styles. If you have shop styles, delete them and save in order to access to the import options again.
Using a Preset
When you have no styles set, you will see preset text and color combinations you can choose from to get started. Simply click on a combination you like and tweak it to match your shop. Click 'Save' once you're done adjusting to save the edits.

Applying Styles
You can apply styles to your content through the design panel:
Select the component you want to style
In the design panel, locate the text or color section
Choose the desired style from the project's library.

Editing Styles
You can edit your styles in the Shop Styles Panel. While hovering over any style, click the pencil icon to modify its properties, then hit 'Save'. Any changes you make will automatically update across all elements using that style.

Deleting Styles
Remove unwanted styles from your project by clicking the x icon next to the style. When you delete a style, any elements that use it will be automatically detached while preserving their current appearance.

Unlinking Styles
You can unlink text or color styles from any element from the design tab. Removing the styles will remove all styling effects currently applied to that element.

Troubleshooting
I updated one of my saved styles, but it’s not reflecting on my components when I preview my page?
This occurs when the only change made in the editor is updating a saved style. To ensure your update is applied to the page preview, you'll need to make an additional edit to a component, such as modifying a text element. We are working on fixing this so the update happens automatically, but the workaround is simply to make a quick update so the canvas re-renders 😀